
Background
The Android Team Awareness Kit (ATAK) was released by the DoD originally as a Situational Awareness (SA) tool for small team use within tactical environments. The Kit provides a common moving map interface around which teams could co-ordinate when networked over tactical radio systems. ATAK was special because it was a DoD sourced software project that was very much ‘developed’ by the end user, making it a powerful tool.
Personally I have been involved in the use and integration of ATAK over the last 5 or so years. Until recently ATAK has had a very limited distribution through the US DoD and via specific agreement with other military’s and law enforcement agencies.
Fortunately for those of us that were frustrated at the constrained supply of the software, in 2020 DoD released a Public Release version ATAK-PR. This was swiftly followed by the posting of the source code for ATAK-CIV, which has the core features of ATAK but without the military specific and export controlled functions.
With the release of ATAK-CIV, what swiftly followed was the rapid uptake of ATAK-CIV by Law Enforcement, Fire, Search and Rescue as well as other agencies that rapidly benefited from a SA co-ordination tool.
Anyway, enough of the introduction, and to what you came here for – how to build your dev environment:
Building Your Development Environment
I put these instructions together from my own experience of building from the quoted instructions on the ATAK-CIV repo. I built this around an Ubuntu 18.04 environment, your mileage may vary, however I managed to get it to build a working APK.
Prerequisites.
- Android Studio
- Java JDK Version 8
- Android NDK
- Apache ant
- dos2unix
- autoconf
- automake
- libtool
- GNU patch
- GNU make
- tclsh 8.x
- cmake
- swig
Well you know it wouldn’t be a good software project without a pre-req list as long as your forearms, so here we go …
First create a new VM with Ubuntu 18.04 (yes, use the latest, I just haven’t tested it) from here we need to do a couple of baseline tasks:
Make sure we have latest sources pulled into package manager.
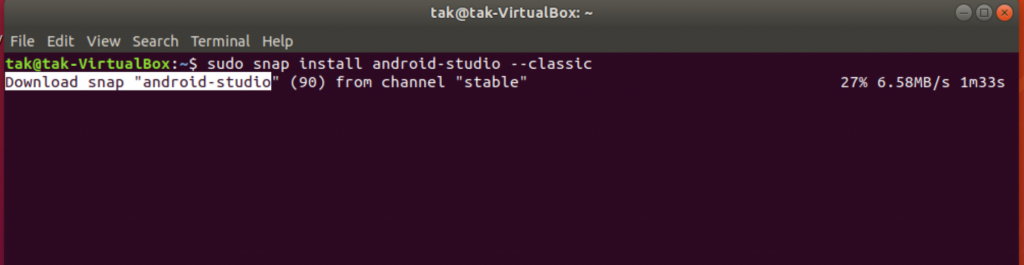
sudo apt get updateInstall Android Studio using Snap (makes life easy).
sudo snap install android-studio --classicDon’t forget the –classic switch, as Android Studio requires the relaxed snap security implementation this provides.
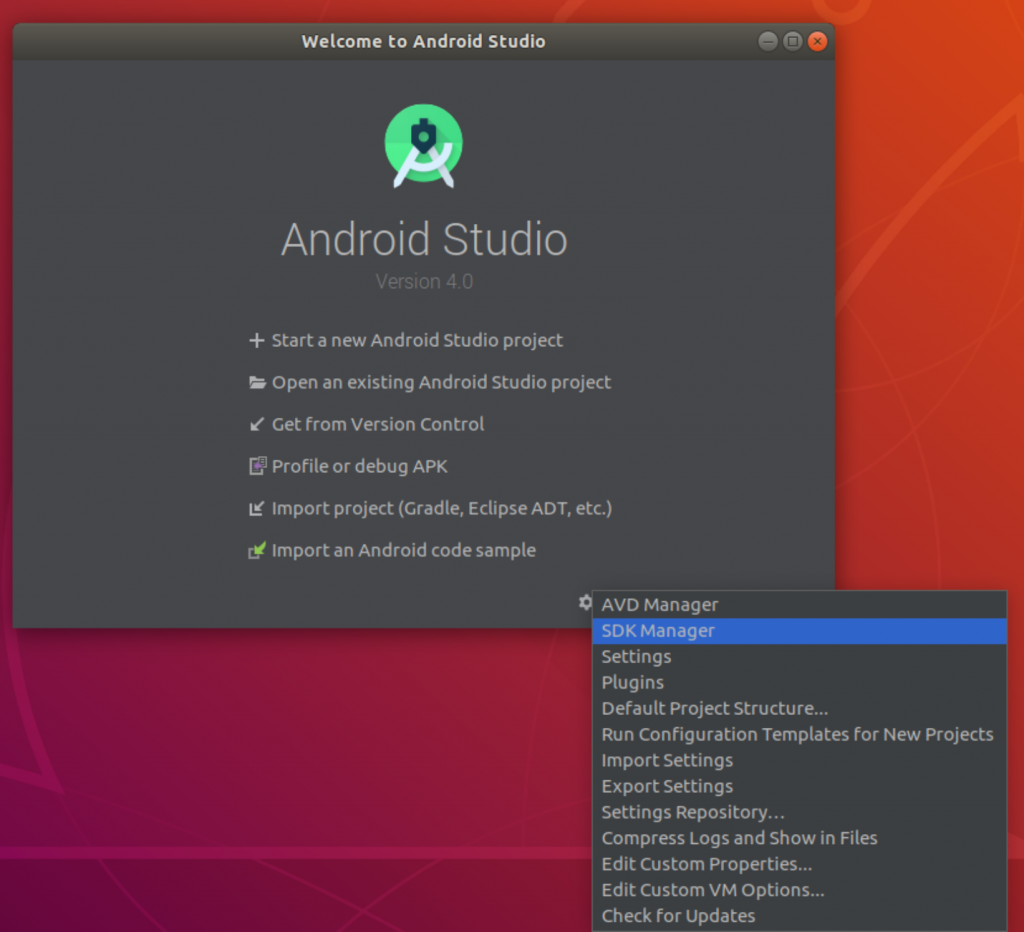
Once Android studio is installed, launch it from either the icon in the app launcher or from the command line. We need to download and install the SDK’s ATAK will require to build. In the release notes it mentions we need to use Android API level 21 onward.
When the Android Studio welcome screen launches, click the configure menu (bottom right) and select SDK manager.
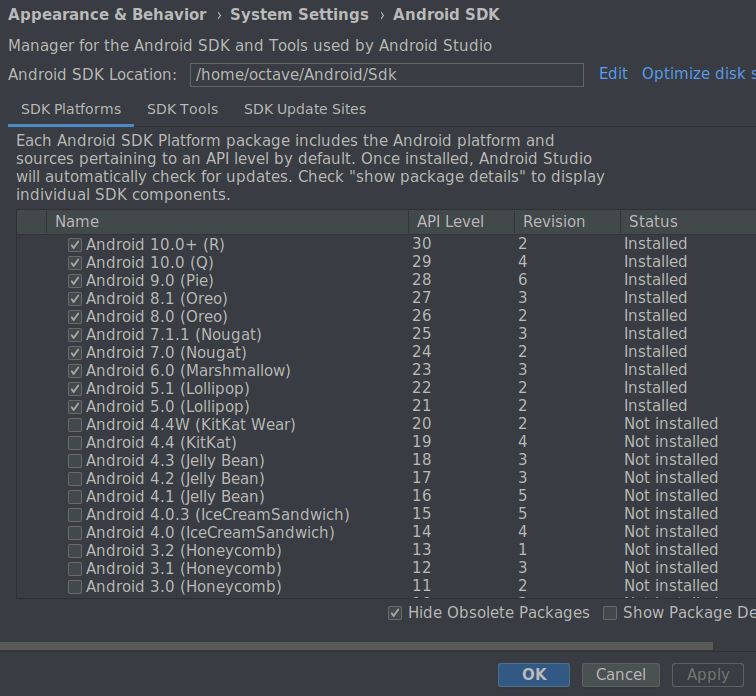
Now make sure you have a tick against each API level from 21 to 30 (at the time of this blog post) and then click ok to download and configure them, remembering to accept the licence agreement.
Once these have downloaded, we can now put Android Studio to one side and work on getting the bulk of the ATAK prerequisites configured.
Fortunately we can use a bit of a one liner to download and install most of this;
sudo apt install build-essential git openjdk-8-jdk dos2unix autoconf automake libtool patch make tcl8.6 cmake swig ant
Once we have all this installed, we can now move on to the interesting part; getting the ATAK dev. environment built up!
With our fresh VM, we can now pull down the ATAK code, I would recommend making a fork to your own repository allowing you to commit the modifications made along with other development forks. On your dev machine, the following command will clone the ATAK code to your current working directory;
git clone https://github.com/deptofdefense/AndroidTacticalAssaultKit-CIV.git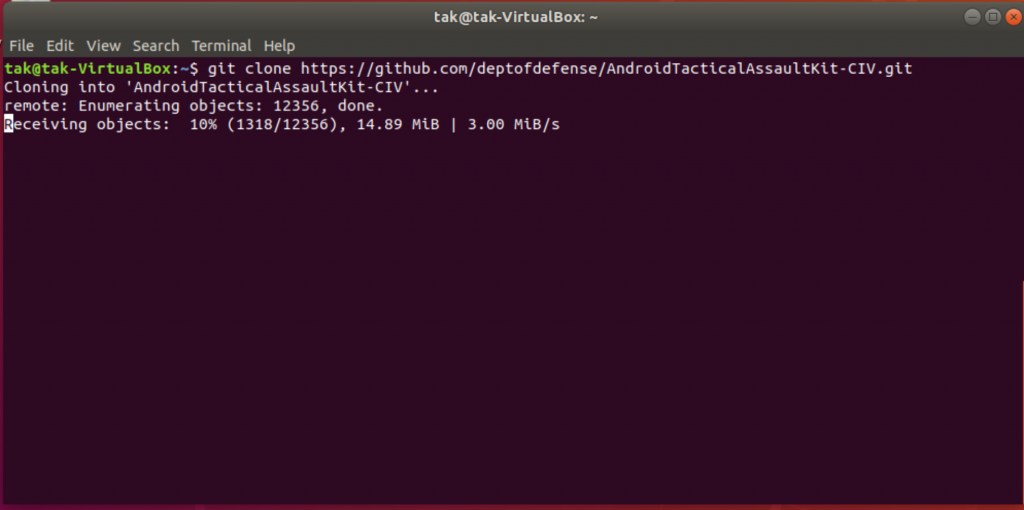
Now we have a local copy of the code we can get to work! First things first, there is a slight issue with the repo as some directories are missing and need creating, so cd into the code directory;
cd AndroidTacticalAssaultKit-CIVRun the following command to generate the directory we need;
mkdir takengine/thirdpartyWe can then download the STL Soft 1.9 to this directory;
cd takengine/thirdparty
git clone https://github.com/synesissoftware/STLSoft-1.9.git stlsoft
Next step is to get gdal into position; a modified version is provided with the source code, so we need to extract it to the root directory AndroidTacticalAssaultKit;
cp depends/gdal-2.2.3-mod.tar .
tar xf gdal-2.2.3-mod.tar
Now we also need to get NDK r12b into a position where Android Studio and the make scripts can find it. I ended up placing a NDK directory in my home directory due to where snap installs Android Studio;
cd ~/home
mkdir ndk
cd ndk
wget https://dl.google.com/android/repository/android-ndk-r12b-linux-x86_64.zip
We can now extract NDK from the zip file we downloaded;
unzip android-ndk-r12b-linux-x86_64.zip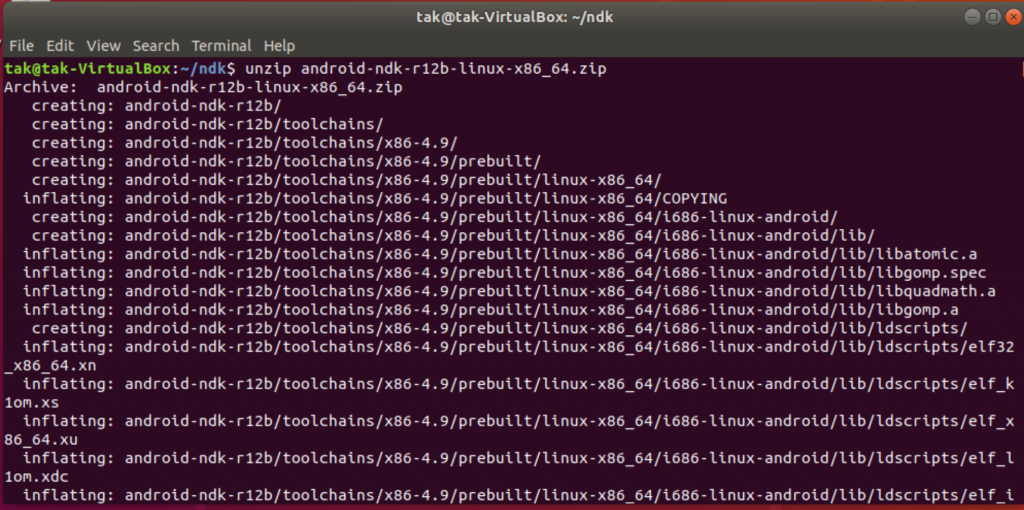
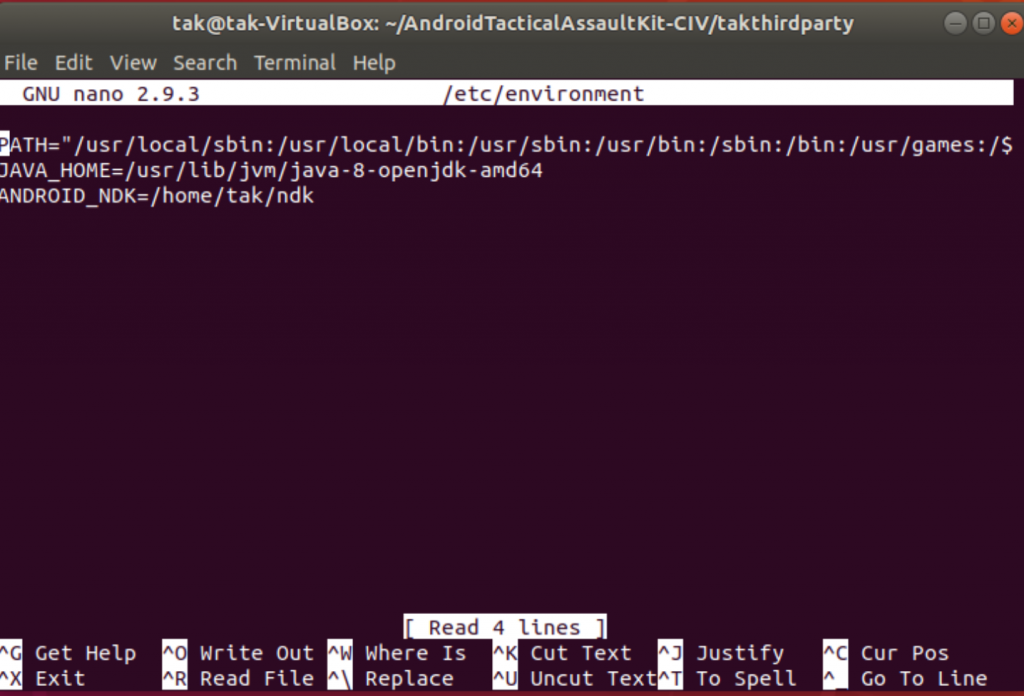
We can now add some environment variables globally so the build can find resources that it requires, open your environment file with the following command;
sudo nano /etc/environmentAnd add these two lines to the file, once ready cntrl and X to exit, remembering to save;
Now issue the following command to load the new environment variables;
source /etc/environmentNow to the exiciting bits – building code, or rather headers … the code will come in a bit;
You can either follow the following manual make commands or use the prebuild.sh script located in the scripts directory. I ended up manually running the commands due to path errors, however with a slight modification the script should work.
We change to the takthirdparty directory and kick off the make recipes, all being well you can now go grab multiple cups of coffee and wait for all that building to finish;
cd takthirdparty
make TARGET=android-arm64-v8a build_spatialite build_gdal build_commoncommo build_assimp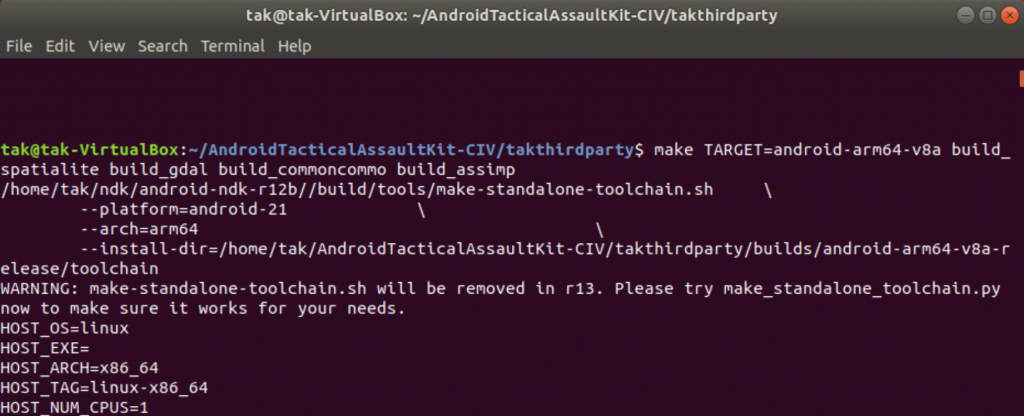
I had a few difficulties when I first started this, the main bugs I came across were a miss-configuration of the JAVA_HOME environment variable or the NDK source location. If you get these errors just make sure you check the directory paths quoted vs. where the files are located on your system.
If you made it this far and the first build was successful we can now launch the second build (and consume yet more caffeine beverage of choice). This took a few hours to step through, so it might be worth taking up a new hobby or finding a book you wanted to read …
make TARGET=android-armeabi-v7a build_spatialite build_gdal build_commoncommo build_assimp 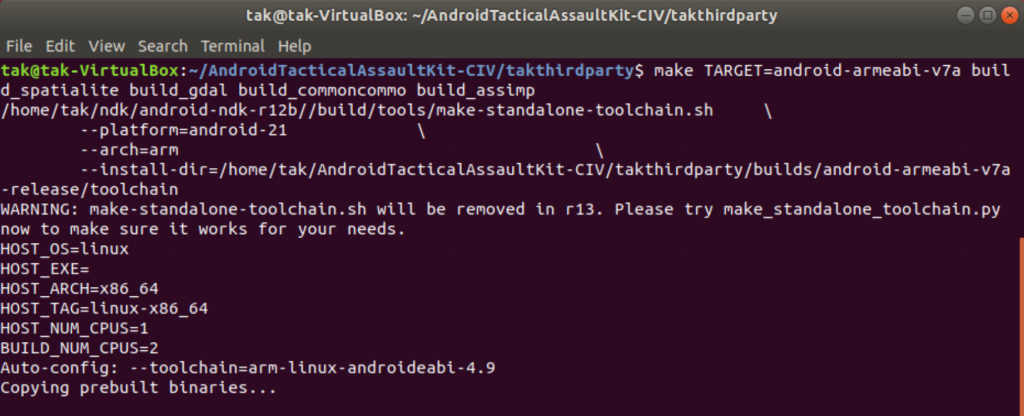
If during this build it’s throwing errors about /bin/jar java files, ensure you have the JDK and not the JRE installed (don’t ask how I know this).
Now time for the final build;
make TARGET=android-x86 build_spatialite build_gdal build_commoncommo build_assimp 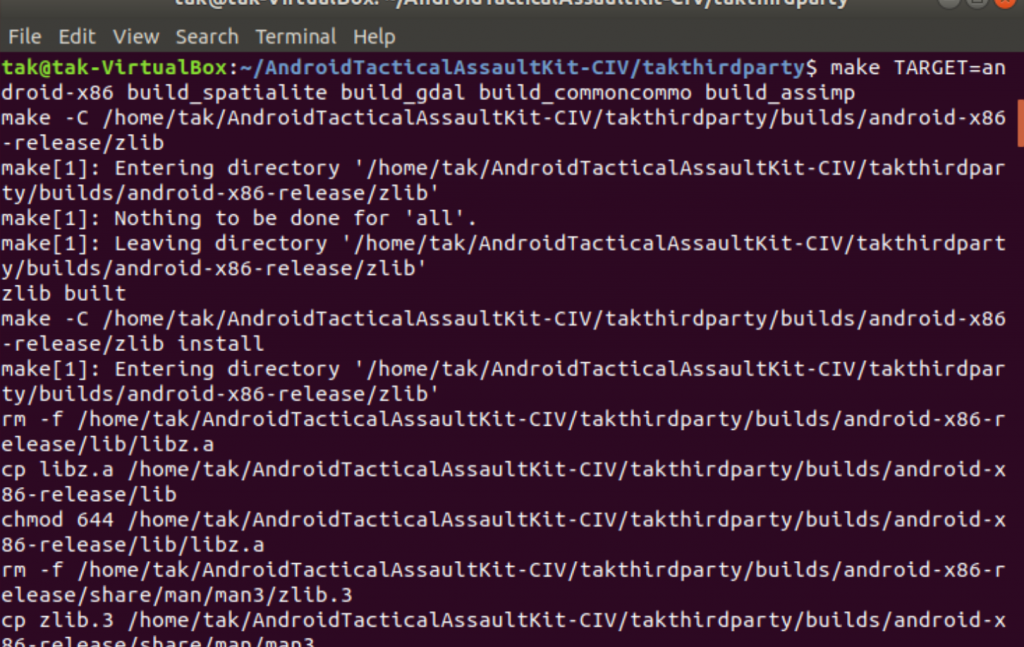
All being well we are now ready to open Android Studio backup and get on with building from source! The first thing we are going to do before launching Android Studio is to generate a debug signing certificate for the build. Gradle needs us to feed it along with a couple of properties in the local.properties file. However, first the signing certificate;
Create a directory we can target from within the build process, I created one in the following location;
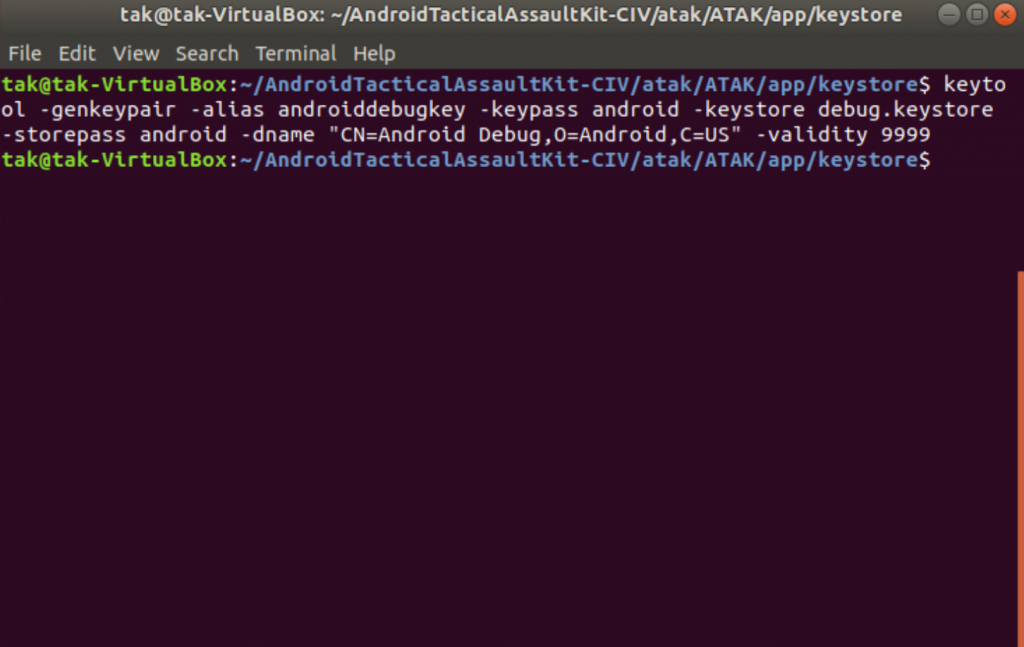
cd AndroidTacticalAssaultKit-CIV/atak/ATAK/app
mkdir keystore
cd keystore
keytool -genkeypair -alias androiddebugkey -keypass android -keystore debug.keystore -storepass android -dname "CN=Android Debug,O=Android,C=US" -validity 9999
The last command generates the debug key store with the signing key we require;
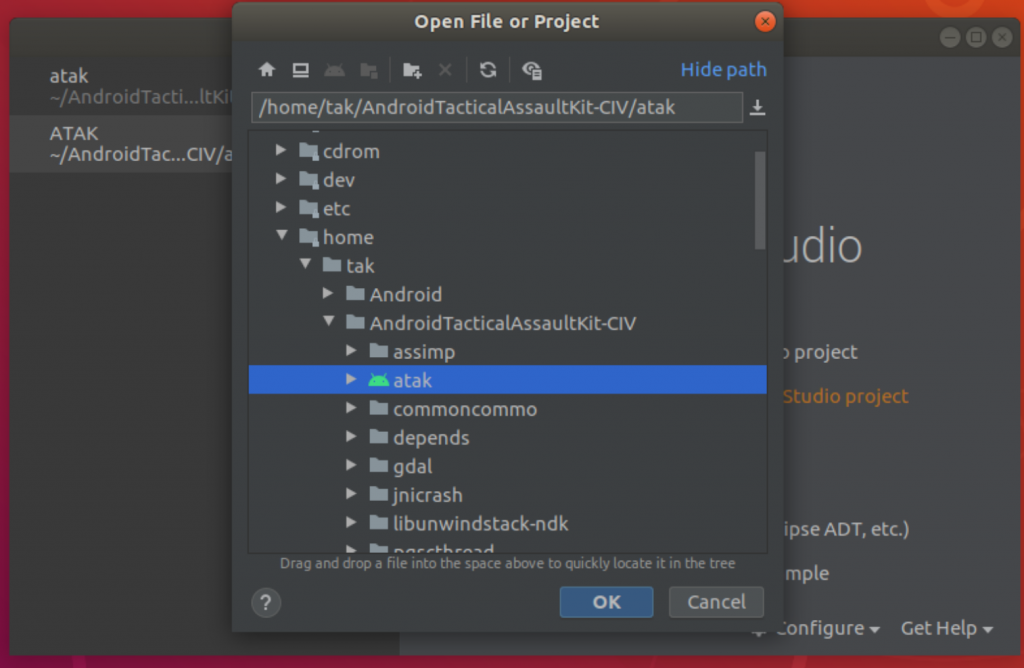
Now fire up Android, we can get our build on! Open Android Studio and open the ATAK project under AndroidTacticalAssaultKit-CIV/atak/;
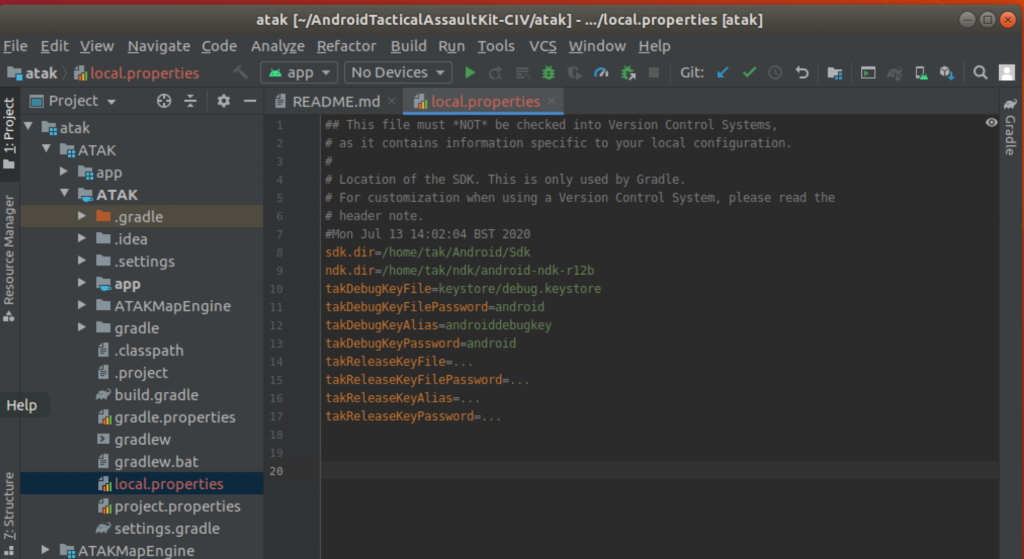
Now the project has opened we can set up local.properties. On the right side of the window expand the menu under the ATAK project root and double click on local.properties. You should be rewarded with a screen a bit like this;
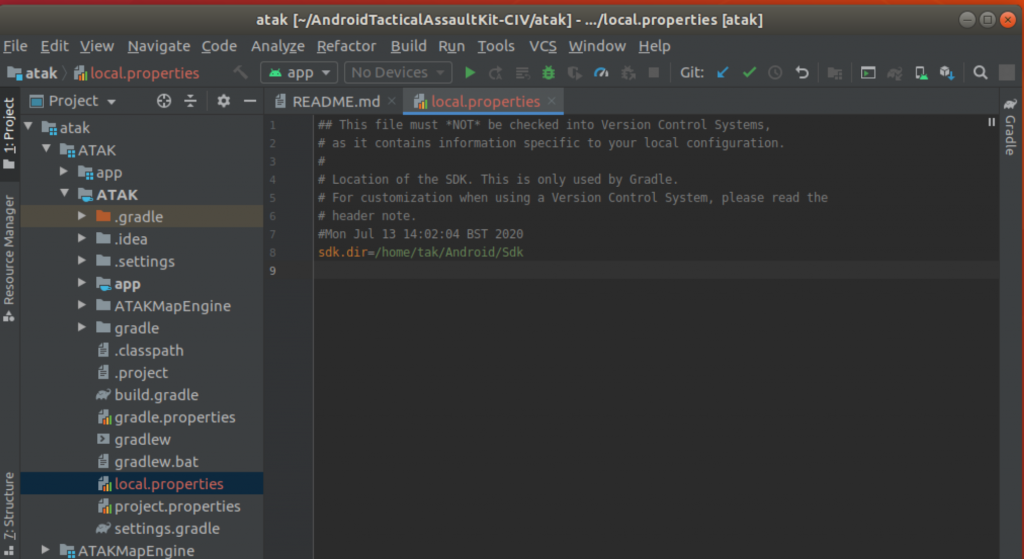
Now we enter the following details, which tell Android studio where our debug certificate resides, along with locations for Android SDK and NDK;
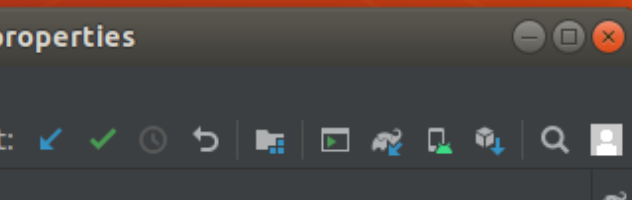
We should now be in a position to build a debug version of ATAK, we want to sync the project Gradle files to check everything is ok. Click the elephant logo with a blue arrow, located at the top right in the menu bar;
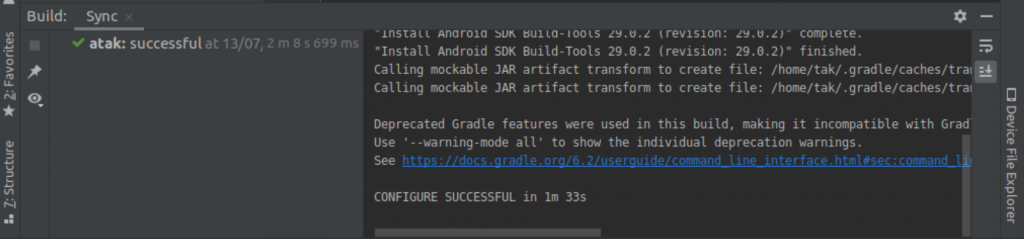
All being well the build will succeed and you will be greeted with the following in the Gradle terminal;
With the Gradle sync completed, we can now do things such as modify the source code, use the graphic editor for the display fragments etc. However we are now going to fast forward and build the debug APK to ensure everything is working for future experimentation.
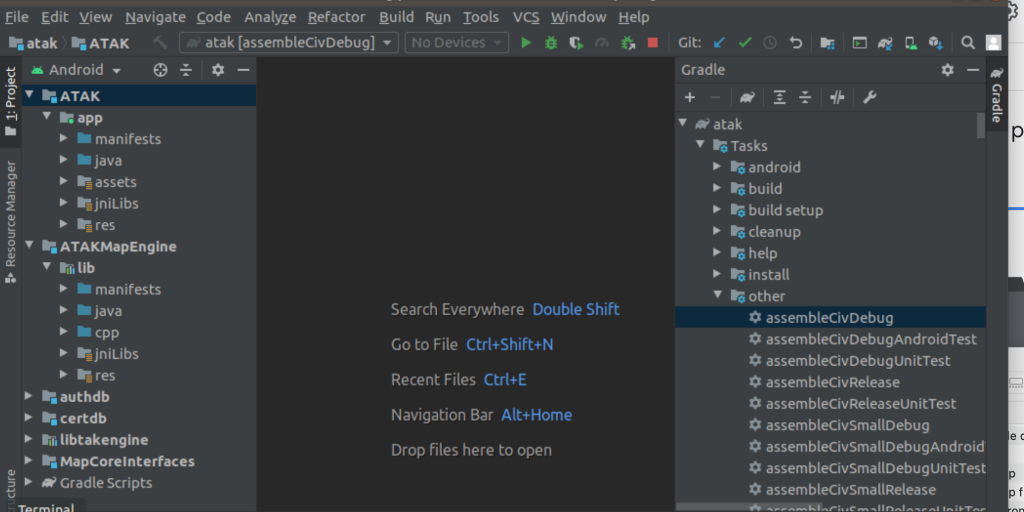
Click on the Gradle menu on the right side of the window, we can now expand the menu to find a task called assembleCivDebug, double click and this should kick off the debug APK build, this took 15 minutes or so the first time I ran it, so time for more caffeine! Make sure you use the task at the correct level in the Gradle hierarchy, if you’re getting random errors for file not found, you’re probably executing the wrong task;
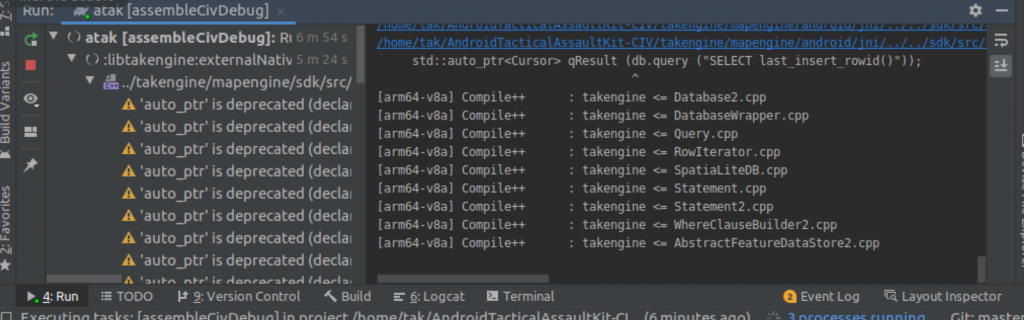
I get plenty of warnings generated during the build, mainly due to deprecation of functions, however I still manage to get a working APK at the end of the process so give them a stiff ignoring;
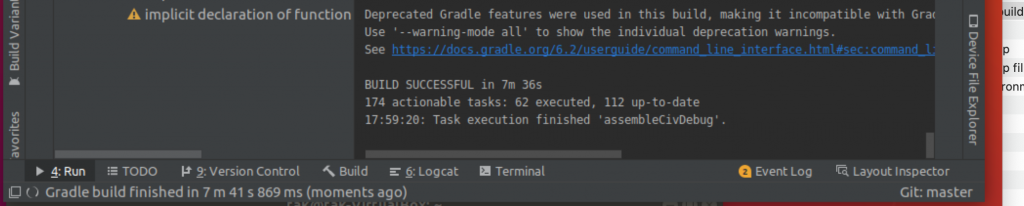
If we are successful you will see the following;
Next step is to locate the completed APK! To save you searching, it’s located here;
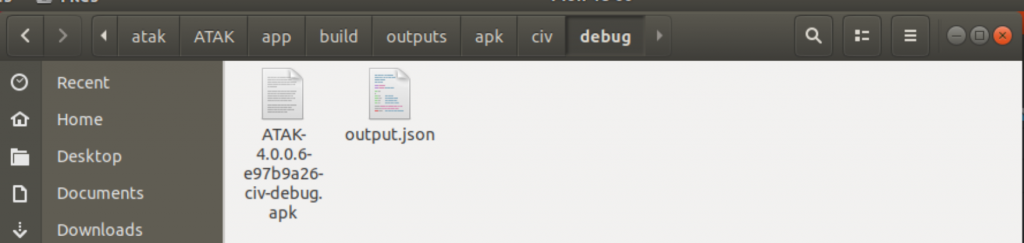
Export the APK to a test device. You have just built yourself a fresh copy of ATAK-CIV.
I will be writing up a how to guide for the Plugin development process along with other ATAK themed posts, hopefully this will help further the ATAK-CIV community.
